Detailed Overview: What is a Dado Blade? |Types & Benefits|
Dado blades are essential tools for woodworking, which help to make precise cuts for joints and grooves with

accuracy. Whether you are a craftsman or a DIY enthusiast, if you want to be an expert in your field, you should understand their functionality and application.
Every person who is attached or likes woodworking knows its name, maybe.
But, if you don’t know.
You are at the right place.
In this article, I will explain what is a dado blade, its types, sizes, proper selection, installation, and how to use it.
I am confident that this article will solve all the queries you have in your mind.
So, keep reading.
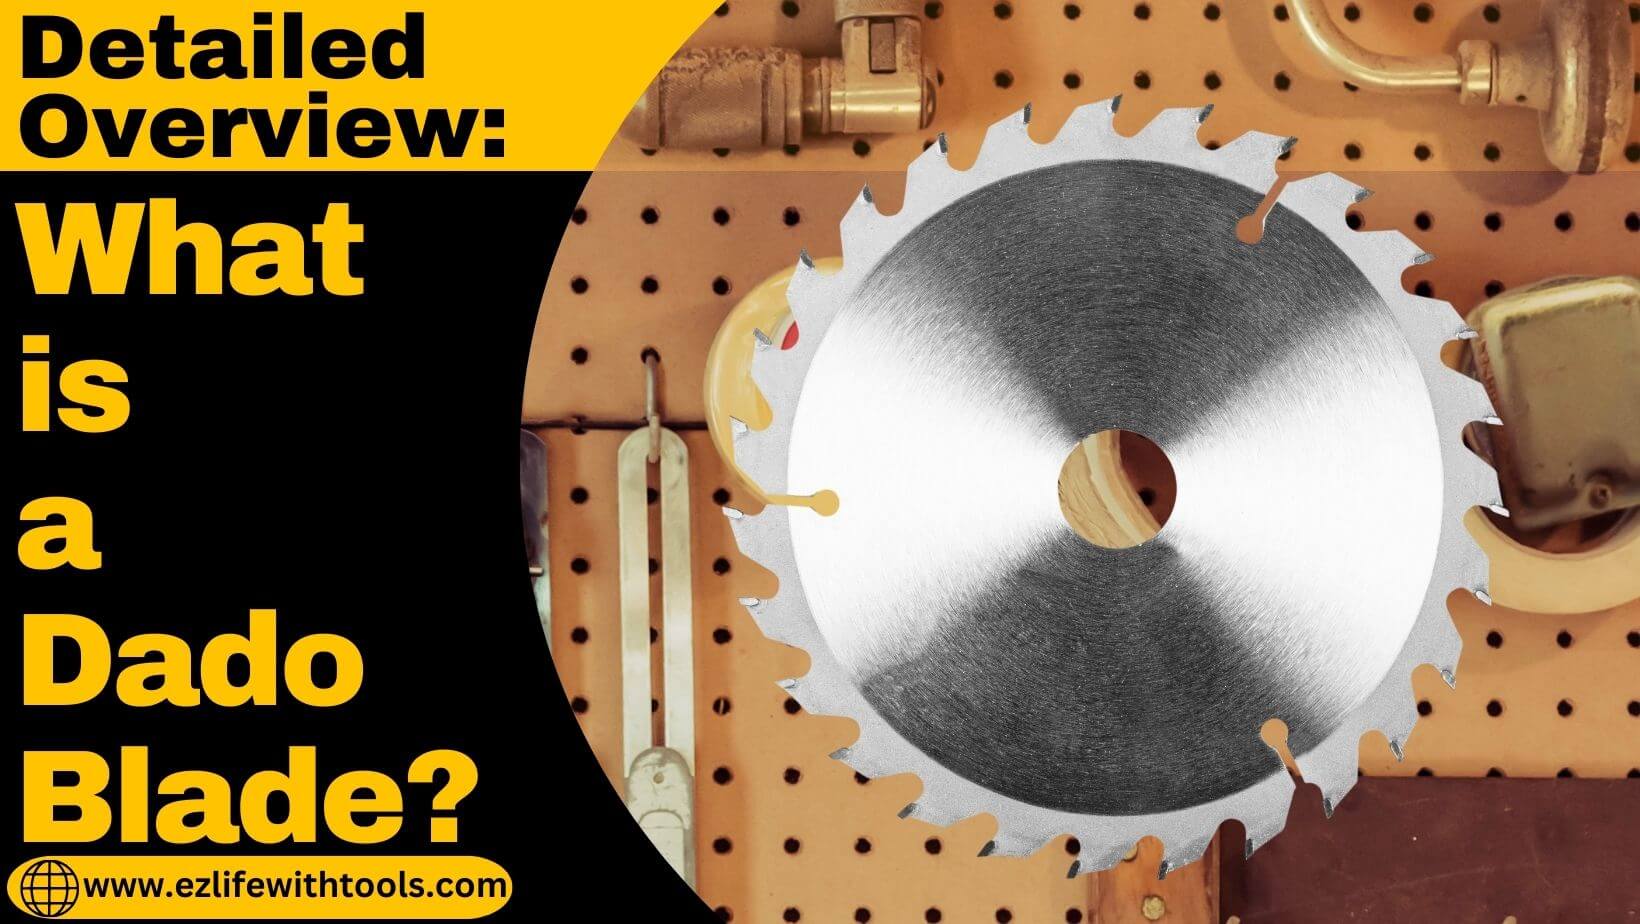
What is a Dado Blade? (Definition)
A dado blade typically consists of two or more blades or chippers stacked together on a spindle within a saw arbor. These blades or chippers are adjustable, which helps users create different types of grooves by adding or removing blades accordingly. All the adjustable components provide versatility to cut at different dado widths and depths.
Purpose of a Dado Blade
The primary purpose of a dado blade is to cut grooves, dados, or channels into wood, plywood, or other similar materials. These cuts are commonly used for creating joints, such as dado joints, rabbet joints, tongue and groove joints, and more.
Types of Dado Blades
There are two most appropriate types of dado blades. Here, we will explain it with all the essential aspects.
- Stacked Dado Blade
- Wobble Dado Blade
1- Stacked Dado Blade
The stacked dado blade is one of the most commonly used types in woodworking. It consists of multiple

blades or chipper sets that are stacked together on the saw’s arbor, with each blade separated by chipper blades or spacers.
You can add or remove blades or chippers to adjust its settings. This design helps for customized settings of groove size and depth.
These types of blades are highly versatile and capable of the creation of clean and uniform grooves, dados, or rabbets with smooth edges in various materials like hardwood, softwood, plywood, and even composite materials.
Woodworkers like to use stacked dado blades due to their accuracy and ability because these blades produce consistent results across different woodworking projects.
2- Wobble Dado Blade
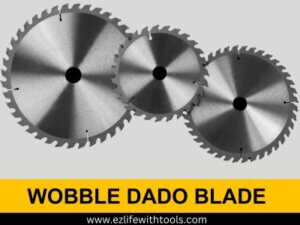
It consists of a single blade attached to a central hub, which rotates or sinks during the operation to create a
wider cut. You can customize the width of the groove by adjusting the angle of the blade.
Wobble dado blades are simple and easy to set up and use. However, due to the nature of wobbling motion, they have less precision in cutting than stacked dado blades.
Woodworkers don’t like to utilize it in costly projects. However, they are suitable for tasks that require wide ducts and are often more expensive.
Understanding Dado Blade Sizes and Their Applications
Whether you are a beginner or a DIY enthusiast, you should understand the importance of dado blade sizes to achieve precise and tailored cuts because dado blades play an important role in determining the width and depth of the cuts created in woodworking projects.
Width Adjustment:
Dado blades come in various sizes; primarily, it is determined by the diameter of the blades and the number of contained teeth. The width of the cut produced by a dado blade is directly proportional to the number of blades or chippers used in the stack.
For example, if you want to create a wider cut, you will need to increase the number of blades gradually to your required width. If you reduce their numbers, it will narrow the cut.
Depth Control:
The depth of the cut depends on the height of the blades used in the stack. You can set it to your desired depth by adjusting the height of the blades accordingly.
For example, if you want to create a deep grove cut, you need to raise the blade height at your required level.
Joints and Applications
Understanding the jointing capabilities of dado blades is fundamental to taking advantage of their versatility in making strong, precise, and aesthetically pleasing connections in woodworking projects.
- Joint Types Made Using Dado Blades
- Applications and uses
1- Joint Types Made Using Dado Blades
You can create multiple types of joints with the help of dado blades. Understanding the capability, versatility, and advantages of dado blades in creating strong, precise, and aesthetic joints is necessary. Let’s first understand its types.
Dado and Groove Joints:
It is the most common joint that you can create with the help of a dado blade. Dado and groove joints involve making a trench (dado) in one piece of wood that perfectly fits a protrusion (groove) in another piece.
These types of joints are solid and durable, commonly used in the construction of shelves, bookcases, cabinets, and drawer assemblies.
Rabbet Joints:
In this type of joint, one piece of wood consists of a groove or channel, and the end of the second piece of wood consists of an ear.
The ear can fit into a groove, which creates a strong and secure connection between the two pieces, like a puzzle piece fitting snugly into place. This type of joint is perfect for assembling frames, boxes, and cabinetry.
Tongue and Groove Joints:
Dado blades can produce interlocking joints where a protruding “tongue” on one piece fits into a corresponding “groove” on the other piece. These joints are famous for flooring, paneling, and joining large panels seamlessly.
Half-lap joints:
In a half-lap joint, the dado blades make a half-recessed cut on each piece of wood to overlap and glue together. This joint type is suitable for the construction of frames, grids, and simple furniture connections.
2- Applications and Uses
Understanding the application of these joints will help you to make decisions about the types of joints suitable for specific woodworking projects.
By understanding the joint needs according to your project and mastering the techniques to use the dado blades, you can create strong and durable wood projects.
Dado-bladed joints play an essential role in achieving professional-quality results.
How to Choose the Right Dado Blade
A thoughtful selection process ensures the best performance and quality in woodworking projects. So, before choosing a dado blade, consider important factors like material type, desired joint specification, and compatibility with the saw.
These are the factors to Consider. Let’s explain them.
Material Compatibility:
Different dado blades are designed for specific materials. Consider the type of wood or material you work with most often to choose the right dado blade for that material. Blades with different tooth designs or coatings may perform better on certain materials.
Blade Size and Adjustability:
Estimate the range of dado width and depth required for your projects. Choose a dado blade set that offers an adjustable size or interchangeable blade to accommodate different joint features.
Quality and Durability:
Always make sure to invest in a high-quality and durable dado blade. Carbide teeth blades are durable and retain their sharpness longer, which provides consistent and accurate cuts.
Safety Features:
Always choose that type of Dado blade set equipped with safety features like anti-kickback mechanisms, blade stabilizers, and reliable blade guards. These features enhance safety and prevent accidents during work.
Teeth Configuration:
Flat Top Grind (FTG) dado blades consist of squared-off or flat-topped teeth. These flat-topped teeth are aligned in a way that produces flat and clean cuts across the wood grain. They are especially effective for making precise and straight cuts in wood, leaving a smooth and clean surface at the bottom of the cut.
Budget and Price:
Assess the overall value and quality offered by a Dado blade set within your budget range. It is true that quality blades may require a higher initial investment, but your investment will pay back in the form of durability and performance.
Manufacturer’s Reputation:
Before selecting any blade, research the reputation and reliability of manufacturers well. Because trusted brands often offer high quality and consistent performance.
How to Install Dado Blade?
Installation of a dado blade set on a table saw requires specific steps to ensure safe and accurate operation. I will explain the step-by-step installation process. Let’s start the installation process.
Selection of Proper Size
I have already described the types and sizes of dado blades. So, before installation, it’s crucial to determine the appropriate dado blade size for the intended cut. Look at the measurements in the given plan of your desired project and choose the blade type and size.
Understanding Components
Familiarize yourself with the components of the Dado blade set, like outer blades, chippers, and spacers. Chippers are crucial for adjusting the width of the cut. They come in various sizes to accommodate different dado widths. Spacers provide fine-tuning options, enabling adjustments in smaller increments between the blades.
Installation Process
- First, check that the table saw is turned off and unplugged.
- To determine the direction and rotation of the dado blade, identify that your table saw has a right-hand arbor or a left-hand arbor.
- Pick and place the appropriate outer blade onto the arbor and ensure that the blade’s teeth face is in the direction of rotation.
- To achieve the desired dado width, add chippers and spacers and align them accordingly.
- Assemble the dado stack to ensure that the components accurately fit according to the manufacturer’s torque but are not overly tightened.
- Again, check that all the blades, chippers, and spacers are well aligned, and ensure that there is not any mistake that can affect the quality of the cut.
- The Dado blade is ready to make cuts.
Note: Most table saws have a right-hand rotation, but some models might have a left-hand rotation.
Adjusting and Testing Dado Blade
After successfully installing a dado blade set on a table saw, it is essential to calibrate and test the setup to ensure accurate cuts and safe operation. Follow these simple steps to check.
Determining the depth of the cut
Adjusting the depth of cut determines how deep the dado or groove will be in the wood. Use the table saw’s depth adjustment mechanism to set the desired depth.
To adjust groove depth, always start with a shallow cut and gradually increase the depth while testing on scrap material until the desired depth for the project is reached.
Measurement and Test Deduction
Before starting the cutting process:
- Perform test cuts on scrap material to verify Dado accuracy and width.
- Verify that the width and depth of the cut meet the project requirements.
- With the help of measuring tools, check the accuracy and also check the quality of the cut surface to confirm that it is clean and even.
Checking Fit and Adjustment
Finally, check the fitted piece for the dado joint to confirm they are comfortable and not very loose or overly tight. If adjustments are necessary, revisit the setup and make additional changes to the blade stack, adjusting the number of chippers or spacers to achieve the correct width.
How to Use a Dado Blade?
This section covers the techniques to make different types of cuts with the help of dado blades. Let’s explain each techniques for various deductions.
- Cutting Dados with Miter Gauge
- Using table saw fences for dados
1- Cutting Dados with Miter Gauge
- First, place the meter gauge securely in the slot of the table saw.
- Set the desired angle or width for the dado.
- Align the workpiece with the miter gauge to guide the cut across the dado blade.
- Push the workpiece forward slowly towards the blade.
- Apply constant and equal pressure to achieve a clean and precise cut.
2- Using table saw fences for dados
- Set the fence at the desired distance from the blade to establish the width of the dado you want to make.
- Make sure the fence of the table saw is correctly aligned for a straight cut. This alignment will help for consistent dado cutting.
- Place the workpiece against the fence and align it with the specified distance from the blade.
- Slide the workpiece along the fence steadily and smoothly.
- Apply constant pressure against the blade as you move the workpiece along the fence.
- Continue sliding the workpiece along the fence until the entire dado is cut to the desired length.
Safety and Legal Considerations of Dado Blades
If you are working with a dado blade, follow safety rules and protocols to avoid accidents and injuries. Additionally, understanding the legal aspects surrounding the use of dado blades is critical to compliance with regulations and standards.
Safety Measures
Safety Gear: Always prefer to use safety equipment like goggles, hearing protection, and appropriate clothing to protect against possible debris, noise, and accidents during dado blade operation.
Blade Guards and Splitters: Always use the blade guards and splitters supplied with the Dado blade set to minimize kickback and maintain blade stability during cutting operations.
Proper setup and Calibration: Make sure the dado blade is installed correctly, aligned, and calibrated according to the manufacturer’s instructions and the table saw’s specifications. Improper setup can lead to vibrations, errors, and safety hazards.
Feed Rate and Material Handling: Maintain the feed rate when feeding material to the blade. Avoid feeding the material too quickly, as this can overload the blade and cause dangerous kickbacks.
Legal Considerations
Regional Regulations: Some regions have specific regulations regarding the use of dado blades. It is essential to familiarize yourself with local laws, including restrictions or guidelines on the use of dado blades.
Safety Standards: Woodworking associations and safety organizations often provide guidelines and safety standards for using dado blades. These standards ensure adherence to safe practices and industry norms.
Age Restrictions and Training: In some jurisdictions, there may be age restrictions or special training or certification requirements to operate a dado blade. These regulations ensure safety and professionalism.
Common Troubles and Their Solution
It’s not uncommon to encounter problems using a dado blade, but it is essential to understand how you can troubleshoot and make the necessary adjustments. It is the only key to maintaining optimal performance and achieving desired results in woodworking projects.
Uneven Cut or Chattering:
If the dado blade produces uneven cuts or causes the material to chatter, this may indicate the blade misalignment or laziness.
Check blade alignment, securely tighten all components, and consider sharpening or replacing dull blades.
Excessive Tearing:
If you see a tearing problem, especially on the edges of wood, it can be a result of blade quality or feed rate.
Change it with a high-quality blade or adjust the feed rate to minimize the tear out.
Burn Marks:
If the machine has been working for many hours, it can cause burn marks on the surface of the wood. Burn marks on the surface of wood indicate excessive heat generated during cutting.
Reduce the feed rate, make sure the blade is sharp, and consider using blade lubricant or coolant to prevent overheating.
Improper Cut or Width:
Improper cut can caused by incorrect blade height or width settings.
Adjust the blade height to achieve the desired width and depth of the cut.
Conclusion
I am very happy to claim that this article will be a complete package for DIY enthusiasts. I have covered all the topics related to the dado blades, like what is a dado blade, how to install the dado blade, and how to use the dado blade.
Not only these major topics but also dado blade types, their selection, sizes, types of joints created by dado blades, and safety and legal aspects are also described.
Thank you for your precious time.
Best wishes